Tuesday 26 February 2013

Love is in the Air

The sun was shining, birds were probably singing, but inside Alloway Village Hall on Sunday, 14 ladies laboured on their Love is in the Air wall hangings.
And you thought I had gone all slushy...........

It was a super day, I really enjoy my workshops and I think everyone had a good time - but, the star of the show on Sunday, was Gordon, my Accuquilt Go!
He hasn't had an airing in a while but was enthusiastically received by all so I think I will have to put him to better use, he has been lounging around for too long...........

Here are some WIPs. The one in the centre is from last year, kindly loaned by Janet.

Friday 22 February 2013

Finishing Along......

I managed some good, quality sewing time this week. First up was one of my finish along projects, my EPP Ferris Wheel.
I made most of this on holiday last Summer and had a notion to make it into a cushion cover for my large floor cushion. Trouble was, the finished piece was larger than my cushion in one direction and I couldn't bear the thought of cutting away what I had painstakingly stitched. Then I thought if I oriented it landscape and made a wrap around cover, it would all work out. So I catalogued most of the process as I thought both the cushion making and the dealing with finished EPP might be of interest to one or two of you out there.
I had bought 1m of solid cotton in pretty much the same shade of green that is in the patchwork.
To find out how wide my fabric should be for the wrap around, I wrapped my tape measure around the cushion.The cushion is an Ikea one, and quite squidgy, I allowed about 4" of an overlap. (But now wish I had allowed more)
I didn't want to just plonk the EPP panel onto my metre of fabric and applique all around - I am stingy like that - so I cut some strips for two of the edges to be attached to. These were about 3" wide.
I ironed the strips in half, lengthways, to give me a mark for guidance.
And then I laid the panel down along the fold line & pinned.

I then carefully stitched them together, using my trusty machine applique stitch.
So that's the top & bottom done.
I cut side pieces that would result in a finished size that would wrap around - this is a one- piece cushion cover.
Time to layer it up - I pretty much always use Hobbs 80/20 wadding and for a backing (which of course, will be hidden inside the cushion), I used an old cotton sheet. Using my beloved wiggly stitch, I decided to quilt right through the EPP following the squares and hexies, I reckoned that would be nice and simple.
But, I had a bit of a hiccup when I was quilting happily through squares and hexies and suddenly arrived at a triangle - hmm? What was happening?
Can you spot the mistake?
Yep, the purple block top centre has been stitched in at "6 o'clock" instead of "ten to two"- duh, if only I had noticed in the six months or so it lay about waiting to be progressed.........ah well! I just continued, it won't really bother me too much.
When I finished the quilting, I trimmed and bound the short ends, using single fold binding. I seem to have forgotten to photograph this step.
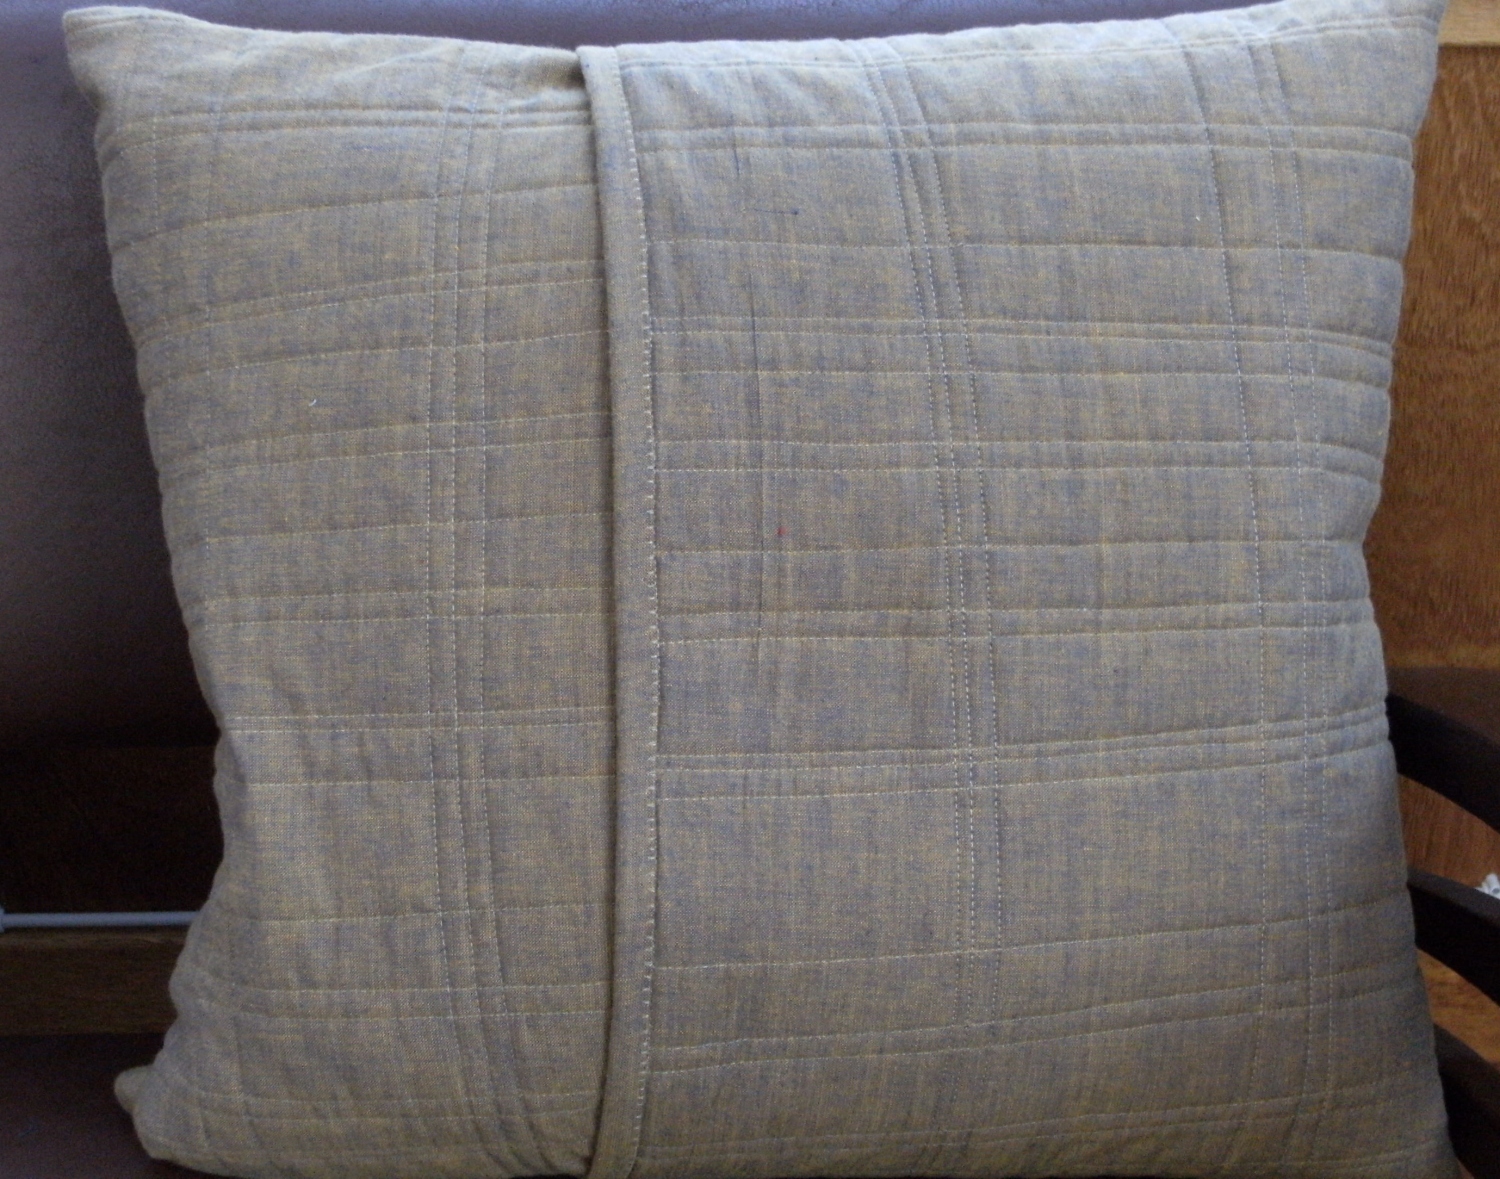
I then centred the "quilt" onto the cushion so I knew where the fold lines should be - folded it right sides together and then all that was left was to stitch top & bottom seams. I used a wider seam allowance than usual and reinforced the stitching over the thicker parts where the layers overlap.
The finished article is just a wee bit roomy for the cushion - I might re-visit the seams (or I might not), and I need to address the overlap with maybe a bit of velcro, or if I feel really ambitious, a buttonhole or two and some posh buttons.
                                                  But for now, I claim this as an official finish!!
                                                             And now my ta dah moment!

And the wee mistake? I aint bothered........


Sunday 17 February 2013

Scrap Happy Weeks

Over the last two weeks all my classes have joined in and played the Scrap Happy Game - I read about it first on Di's blog but spared my ladies the postage stamp scale and opted for 2.5" cut squares.
I asked everyone to bring 36, 2.5" squares to class, made up of 9 different fabrics.
They laid them out in two identical piles of 18 and I scooped up one pile from each person and popped them into a carrier bag. Everyone then popped their remaining 18 squares into a little baggie.
The big bag was passed around twice and at each pass the ladies made a "blind" selection of 9 squares. The only reason one could be rejected was if it was their own.
When everyone was back to having 36 squares, all in their individual wee bags, they then selected one at a time and laid out a 6 x 6 grid. Another rule - you could only put one back into the bag if it was the same as the one just used. This is where the fun started - there were cries of "yuk", "oh no" and I am sad to say, not a little cheating went on. The words, ruler and knuckles flew from my mouth but I was reminded that we are not allowed to use corporal punishment in class these day -wink!
By Thursday, six classes had completed this wee challenge and I had to come home and lie in a darkened room.
Here are some of the blocks made...........
and here is a block made into a cushion already, by Pat,
and I joined in too at the first session and have made mine into a cushion too. In fact many of us thought that they look quite "vintage" and we might just display a table full of them at this year's Open Day.
I had 1/2m of a shot cotton in my stash that filled the bill perfectly for borders, and, enough for the back too
Joking apart, thanks ladies for joining in - I know this exercise  game surprised many of you. Some were happy to make something without making decisions, some felt uncomfortable with the randomness, and others couldn't wait to get home and look at their scraps in a new way.

 This week I managed to do a couple of blocks for Judith's Bee Blessed - these were fiddly little blighters but don't they look good together. Every month Judith posts a request for a different block. She and some friendly quilting fairies then get together and make quilts that will hopefully bring a little love into lives of others. It doesn't take long to make two blocks, why don't you have a look at her blog and think about making some too.

On Friday, I came home to an email fro the lovely Susan, telling me that I had been drawn first in her give-away , what a great way to end a week. And here is what I have won. Thanks Susan, for your generosity.
Pics from  http://canadianabroad-susan.blogspot.co.uk/


Friday 8 February 2013

A Sit Down & A Cuppa

I have been in the company of my daughter and almost - walking grand daughter all day....they have gone home now so I thought I'd have a wee breather and a quick update on what I have been up to this week.

First up are my blocks for Siblings Together - Nicky, one of my Stingy Bee pals, kindly offered to put together and quilt a joint effort from our Bee. She suggested "boy" colours so hopefully these will be ok. The exercise certainly made me realise how little blue I have in my stash. The blocks are scrappy Trip Around the World ones that have taken blogland by storm. I have made these blocks before and actually run a Day Workshop called, A Day Trip Around the World. However, I have only done it with controlled colours, so it was fun to be more scrappy although I have to confess unpicking in the wrong place, more than once.
My other little project was a coin tray, requested by the brother of my SIL, as a gift for his wife. Colours (cream & gold) as requested, hope she likes it.
The fabric I had was a tiny bit of gold Christmas fabric, and I teamed it with some cream linen.

First thing this morning I got going on one of my UFOs and am off to do a bit more. I will be back to share my progress and explain the mechanics of my plan to make it into a big floor cushion.
Have a great weekend everyone.

Friday 1 February 2013

January in Pictures

                              Got some stuff done, tried new blocks.........as usual am linking to Lynne's Fresh Sewing Day

.

Printfriendly

Related Posts Plugin for WordPress, Blogger...